fbpx
How We Automate and Schedule Social Media at CCG
There are many social media platforms to be consistent on and if you aren’t careful, it can get very overwhelming.  If you have read any of my other social media posts here at CCG, you know that I am a huge fan of batching. I want to knock out all of my social media for the week in one afternoon rather than doing my social media all throughout the week. Since bringing on a virtual assistant and a social media intern, this became even more important to get organized, efficient and streamlined in our social media posting.
Unfortunately, when we first started, it wasn’t streamlined. My team was using Buffer, Hootsuite, Post Planner and Later.com. They were great but I have been on the hunt for an affordable social media scheduling service that is an all-in-one.
Well…I found it. Introducing ViralTag. It has won me over because I can do all of my scheduling from one site. Last night, I went in and scheduled posts for the next week on Linkedin, Pinterest, Twitter, Facebook and Instagram all in one post. Yes, really. With just one click.

How We Automate and Schedule Social Media at CCG

Obviously, there’s more manual work scheduling Instagram posts because you have to manually publish it on your phone but we had to do the same thing with Later.com so this is nothing new for us.  It’s also taking extra time to switch, re-train my team and get set-up but I know in the long run, this is a much better scheduling system for CCG.
As defined on its website, ViralTag (previously called Pingraphy) is ideally for Pinterest and Instagram. It has features that allow users to create great images and share them on these two social media platforms. But like Buffer, ViralTag can also be used to manage and schedule social media posts in other platforms like Twitter, Facebook, and LinkedIn. They also have an evergreen option which I am excited to check out as well.

Here’s how to start using ViralTag:

1. Visit the ViralTag website and click on the login button at the top right-hand corner of the homepage.
Automate Social Media2. You will now be redirected to the login page where you can either enter your login credentials or register if you have no account yet. In this case, click “Register” to create your account.
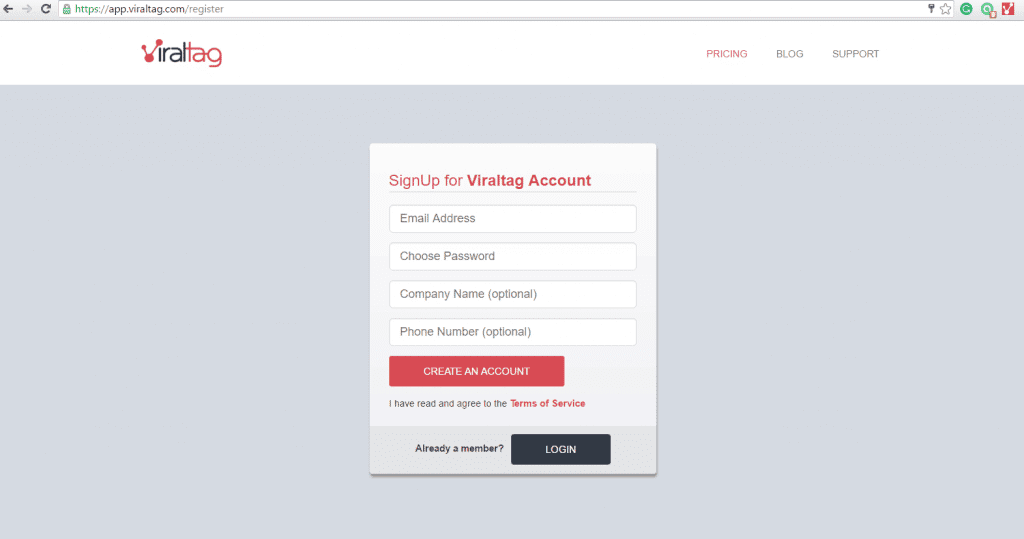
3. Enter your email address, create a password, and then optionally enter your company name and phone number.
Automate Social Media
4. Click “Create An Account”.
5. You will be presented with six social media platforms you can connect to your ViralTag account. These are Twitter, Facebook (with options to connect your page or profile), Tumblr, LinkedIn, Pinterest, and Instagram. Connect the platforms you want to add to your dashboard.
6. Follow the prompts to allowing access to your chosen platforms.
7. Click “Done” and you’re ready to explore the app further.

Here’s how to manage and schedule social media posts:

1. Log in to your ViralTag account. From the Dashboard, click “Post” from the left sidebar. Here’s how the next page will look like:
Automate Social Media
2. Select the image you wanted to post either from your computer (as defaulted), from Facebook, Dropbox, Flickr, Google Drive, or Instagram.
3. Once you’ve chosen your image, you can now enter a description and a source URL for what you wanted to post. Click on the “Schedule” link and select the appropriate day and time for your post to go live. Make sure to select which social media pages you want your post to appear on. You can select multiple platforms. Remember, though, that Twitter can only handle 140 characters. Don’t worry, you can post separately on Twitter.
Automate Social Media
4. If you do not want to have to manage and schedule social media posts by manually uploading images, you can download the ViralTag browser extension. This will make your posting a lot easier.
Automate Social Media
5. To use the extension, simply open the post you wanted to share. Click on the ViralTag browser extension icon (usually placed at the top of your browser, next to the address bar). Select the image of your intended post, then click “Schedule” at the bottom right-hand corner as shown on the screenshot:
Automate Social Media
6. Your post will automatically generate a description/caption and the source URL. You can change the caption if you want. Select the social media platforms you want to post on. In this case, I selected all platforms connected to our ViralTag account – Facebook, Instagram, LinkedIn, Pinterest, and Twitter. Schedule the post and you’re done!
Automate Social Media
If you want to know how to use ViralTag before committing to it, use the trial version for 15 days. That should be enough time to learn how to navigate around it and make it work for your business and your social media pages.

What service do you use to help you automate your social media posts?

Related Post: 5 Ways to Promote Yourself Using Pinterest

Hi, I'm Anna!

I’ll help you create a career strategy and plan so you can finally have a job or business you love that supports the life you really want.

Learn More

You might also like…

My 5 Biggest Failures Growing a Membership Site

My 5 Biggest Failures Growing a Membership Site

I often get the question of how I manage all my programs. Here's the important key: I didn't start here and you can't compare where I am now to where you are starting today. I have been working on growing my business and learning about growing a membership site since...

The Membership Experience (formerly TRIBE course) Bonus and Review

The Membership Experience (formerly TRIBE course) Bonus and Review

Updated: March 28th, 2024 I was so excited and shocked to open my email up yesterday to see that my case study for The Membership Experience (formerly TRIBE course) was in the top 5 of Stu Mclaren's membership site contest!! I'm so excited to share more about my story...

90 Day Planner